Rib replacement pictorial

Questions/concerns/issues. How did the other guy do it? Find out here.

Moderators: a j r, TDockside, Miles, Moderators

Torchie
Posts: 270
Joined: Tue Nov 23, 2010 4:55 pm
Location: Alden, Michigan

Rib replacement pictorial

Post by Torchie »

Image
Image
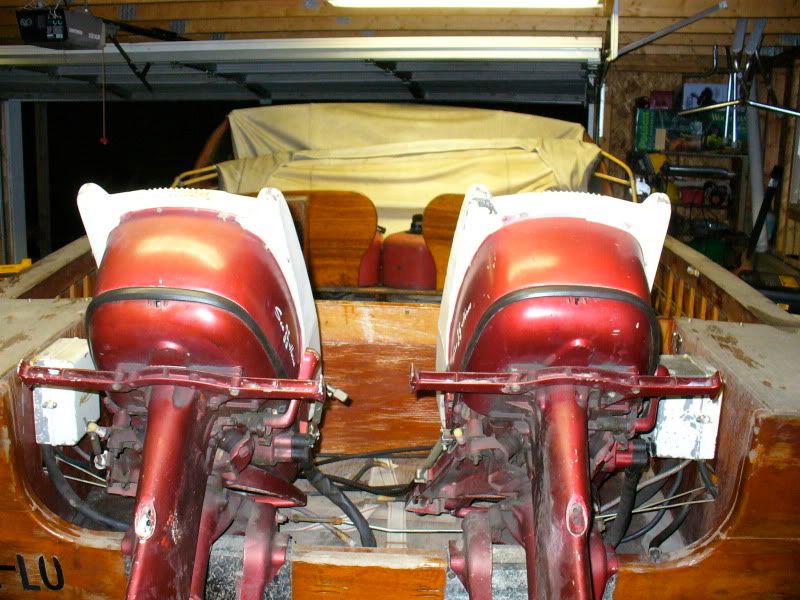
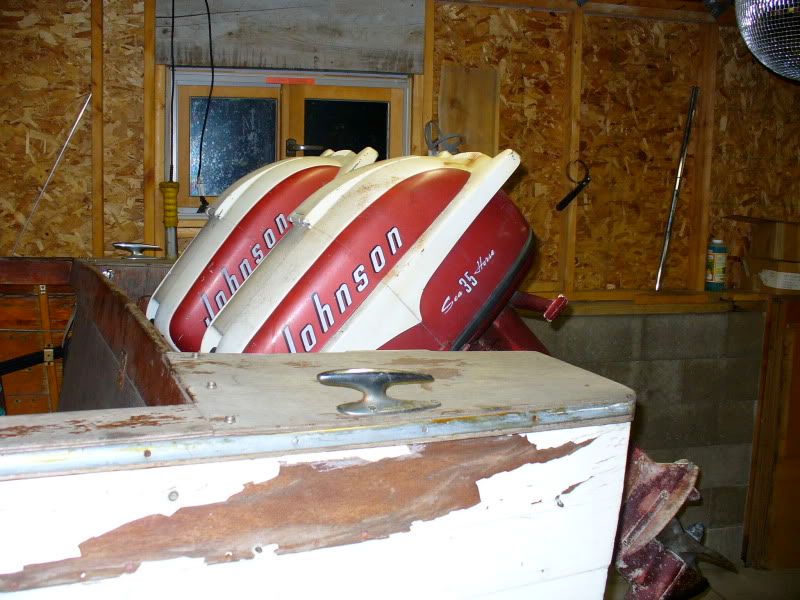
1. The project boat: 1955 Thompson Off Shore with twin 1957 35hp Johnsons. The lapstrakes on this boat are in great shape and since I don’t want to remove them I need to replace the ribs with the hull intact. Once the ribs are replaced the boat will be flipped and the entire hull stripped and painted.


Image
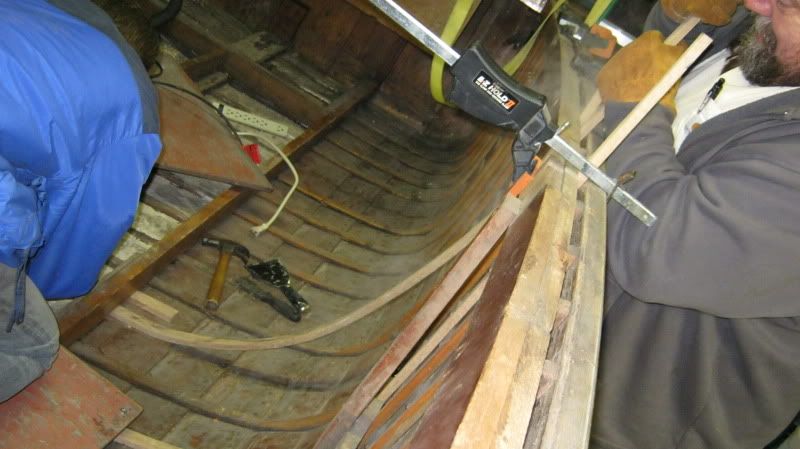
2. This pic shows there was some rib issues. 12 ribs in all will be replaced. Some were cracked, some were rotted, some both.


Image
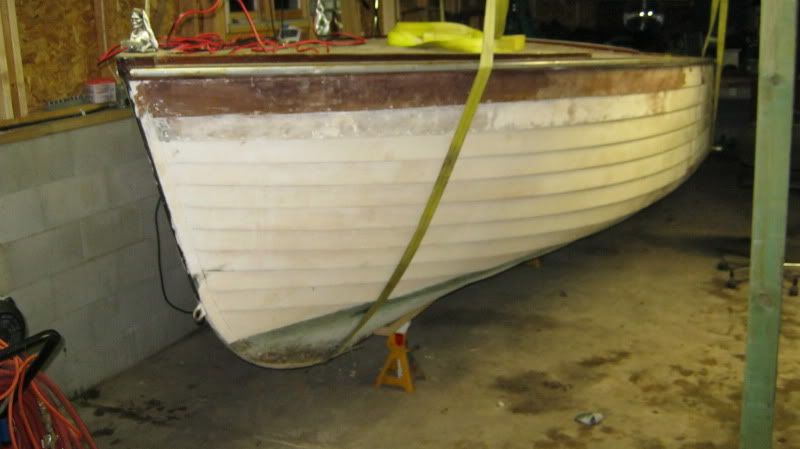
3. First task was to remove boat from trailer so that we have total access to hull bottom. In this pic the boat is on stands and timbers with the straps adding extra stability.


Image
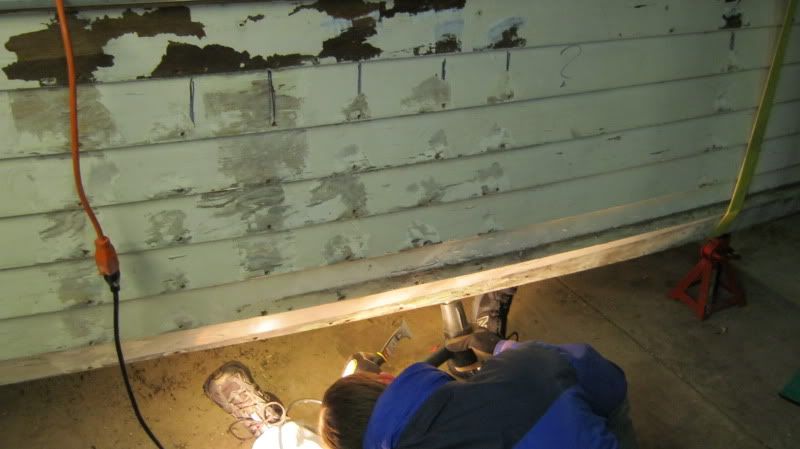
4. Screws that hold the ribs in are located, uncovered and removed.


Image
Image
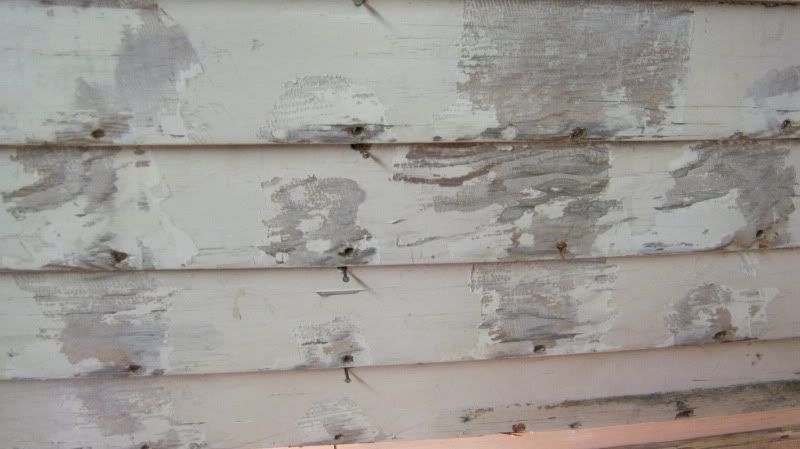
5. One rib had both screws and nails.


Image
6. Some screws had to be cut. There are two screws that hold the rib to the gunnels. These can’t be removed without taking off the rub rail and the inner trim board, which we left on to help the hull retain its shape. These two screws will be replaced drilling thru the rub rail and the inner trim board. The rub rail screw will be covered by the aluminum rail trim and the trim board screw will be countersunk and bunged. There is also a screw at the bottom edge of the shear strake that can be removed.


Image
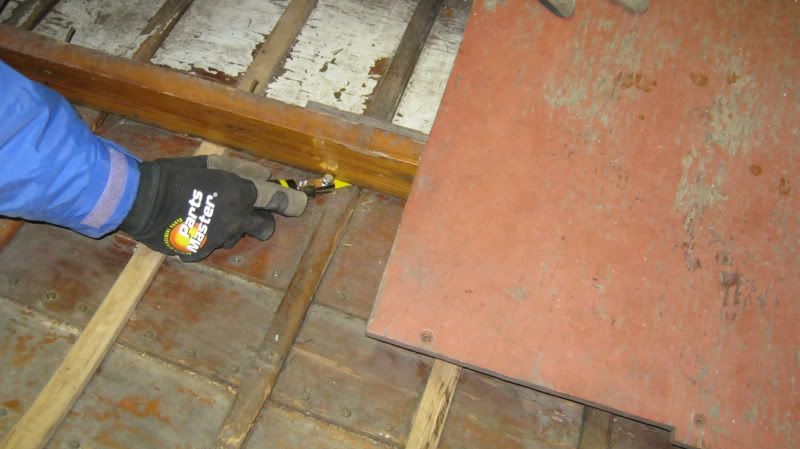
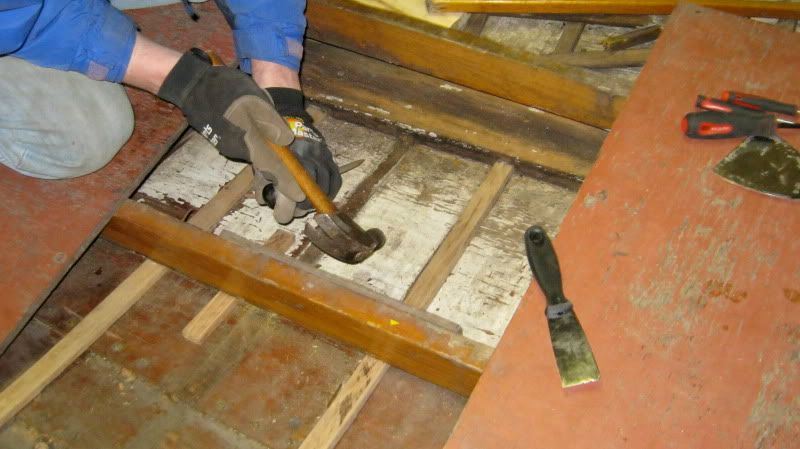
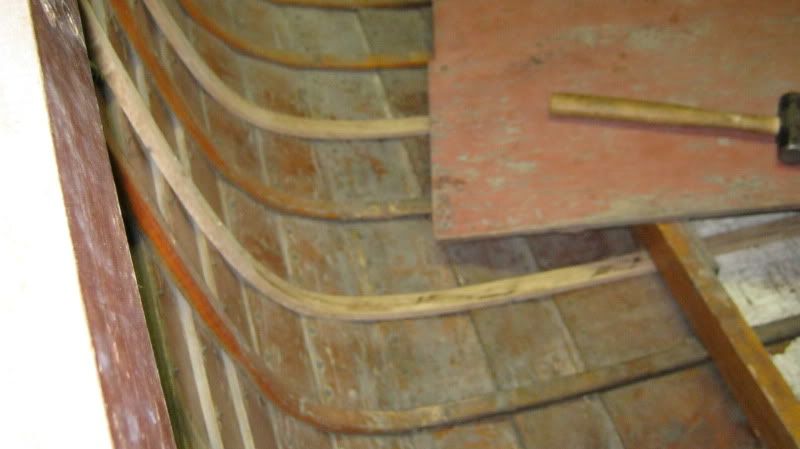
7. There is a screw or a nail going up thru the rib into the sister keelson. This will need to be cut as well.
This screw will be replaced from underneath by going thru the lapstrake or garboard, thru the rib and into the sister keelson. You will need to make some notation as to where the location of this screw needs to be. I used the nearest existing screw hole as my measuring point.


Image
Image
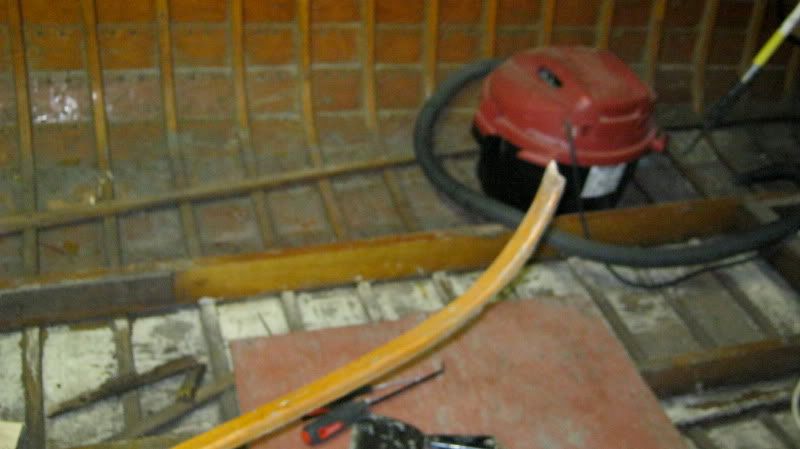
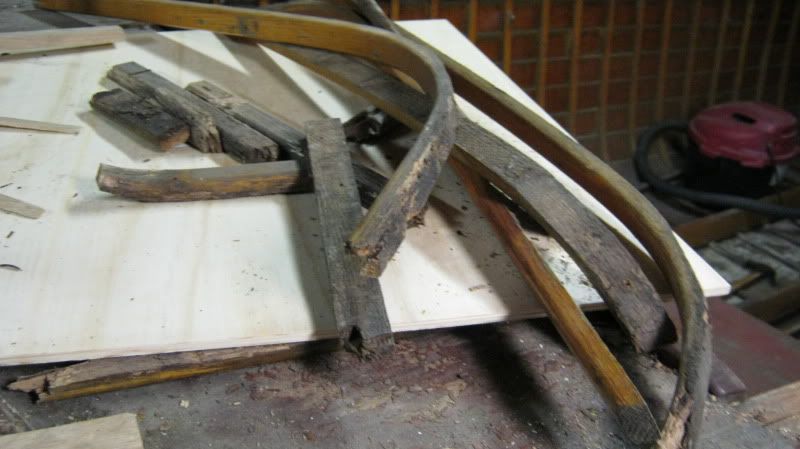
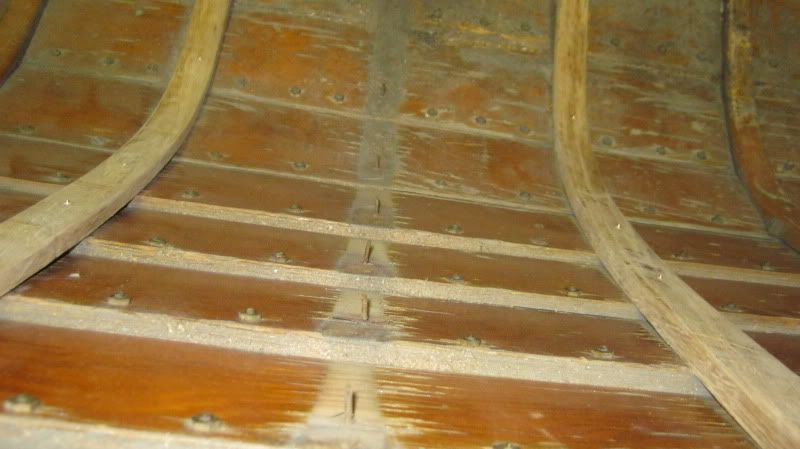
8. Remove the old rib. It will usually look something like this.


Image
Image
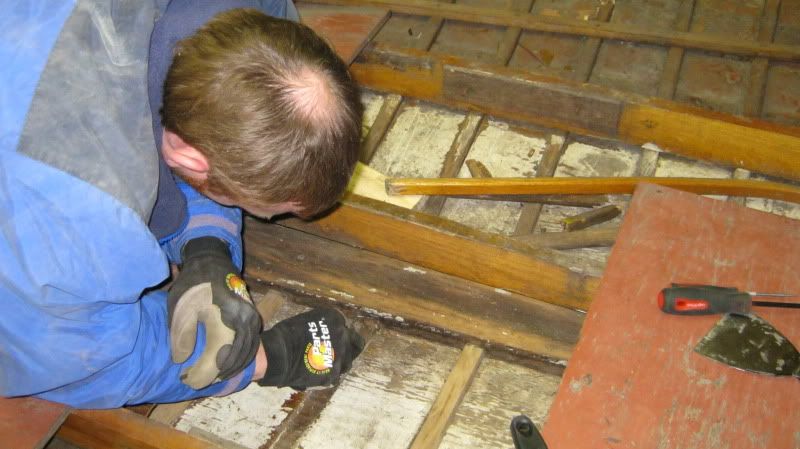
9. The keelson on the Off Shore is notched and the ribs fit into this notch . All of the old rib has to be removed so that the new rib can be forced into this notch and screwed to the keelson thru the bottom. I believe that this system of rib/keelson connection may be particular to the Off Shore models. This part of the process took the most time. We used a small chisel and pick and LOTS of patience. The ribs MUST attach to the keelson for structural integrity.


10. New ribs were milled from an 8’ piece 5/4 white oak that was quarter- sawn. I used quarter sawn as I noticed that many of the original ribs had grain markings that looked like quarter -sawn oak. The original ribs may have been “rift” sawn but that option was not available to me.
The ribs on my boat are 5/8 thick X 1-1/8 wide. After cutting the stock on a table saw I used a palm sander to profile the edges that are exposed. I then inspected the rib again for graining, knots, imperfections , etc. and trimmed them down to 6’ lengths.


Image
Image
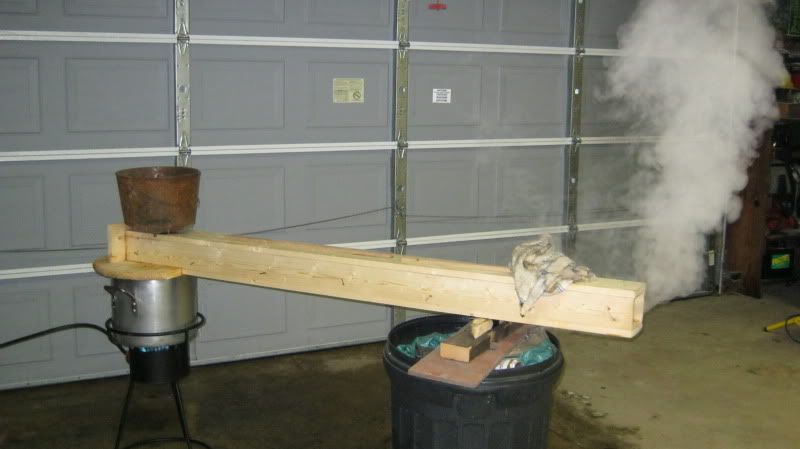
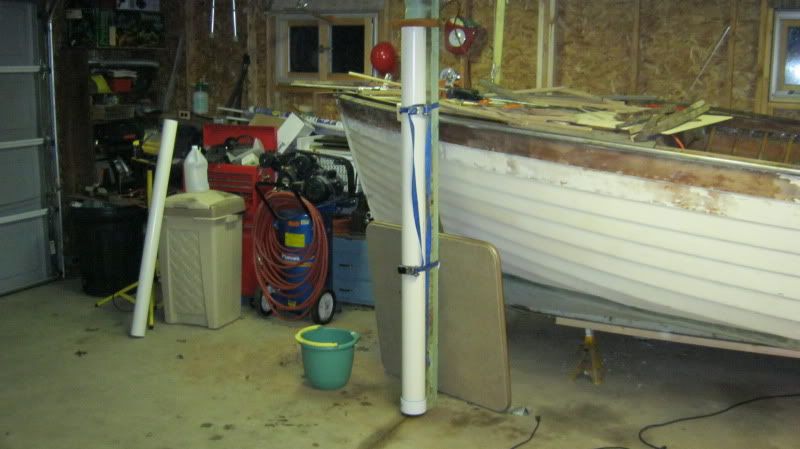
11. This is the steamer that I built. I use a borrowed Turkey fryer for the heat source. Three gallons of water will last about 3 hours. I stuff a rag into the end of the chamber but still allow steam to flow out the end. You need to maintain 212°F thru out the steaming process – boiling temp. I steamed my ribs 35 minutes based on the formula of 1 hour / 1” thickness. I soaked the ribs for 2 days in a PVC tube with an end cap on the bottom that I lashed to an upright post in the garage. I used salt water to soak the ribs because that’s the way I was taught plus salt water won’t freeze solid in my Northern Michigan garage when the heat is off.


Image
Image
Image
Image
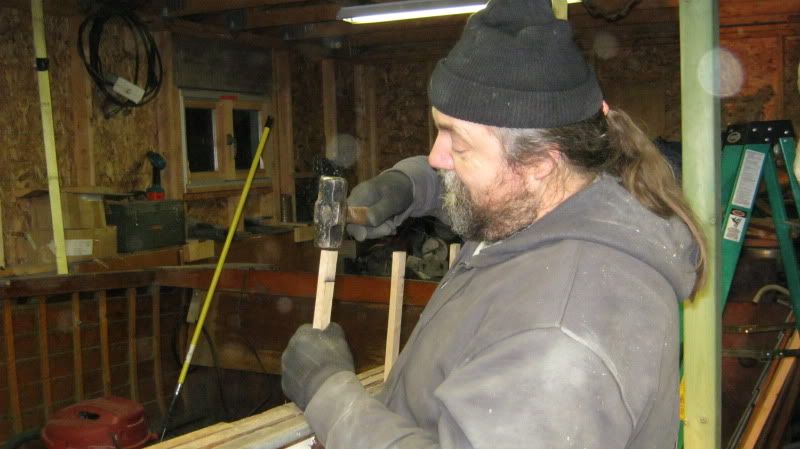
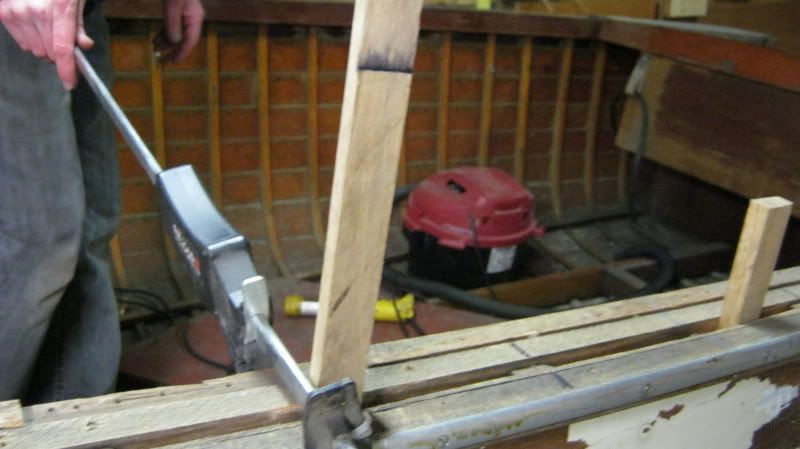
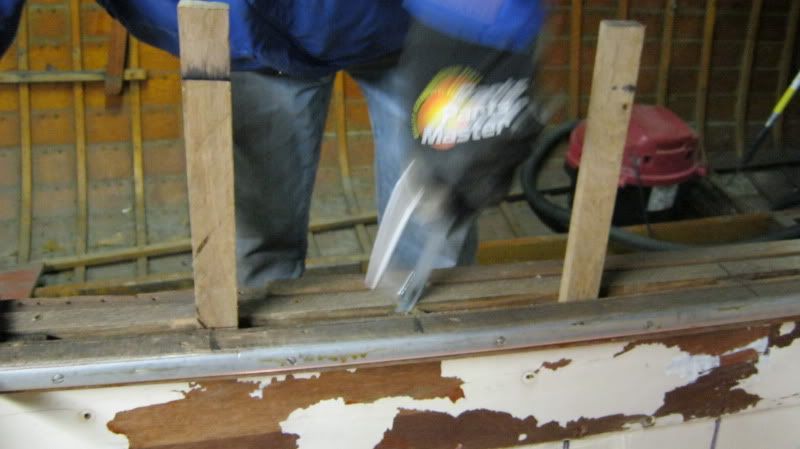
12. Bending and installing is a 2-person operation. One person in the boat and one person out.Wear heavy gloves to protect from the steam.

Steam the ribs for 35 minutes. Remove and quickly insert between gunwale and inner trim board forcing the rib down. As you do this the person inside the boat starts to bow the rib guiding the end over the edges of the lapstrakes and under the sister keelson and into the notch in the keel. At this point the inside person is pressing on the rib to make sure that it is in contact with the side and curve of the hull. The outside person uses a big hammer to pound down on the end of the rib to force the rib into the keelson notch and to help to set it completely against the curve and side of the hull. Once everything is in place clamp the rib securely at the gunnels and start to replace the thru hull screws. I start at the bottom lap and come up at least around the curve of the hull. Then I do every other lap just to make sure the rib is tight to the side of the hull.
This whole process should take around a minute.


Image
Image
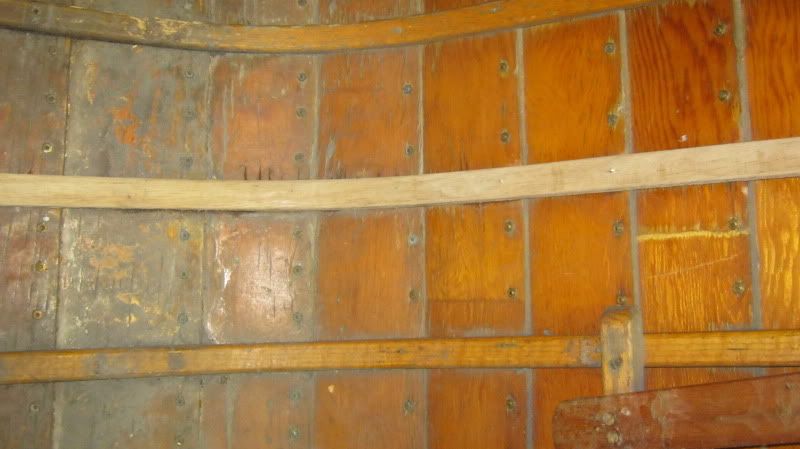
13. New ribs in place


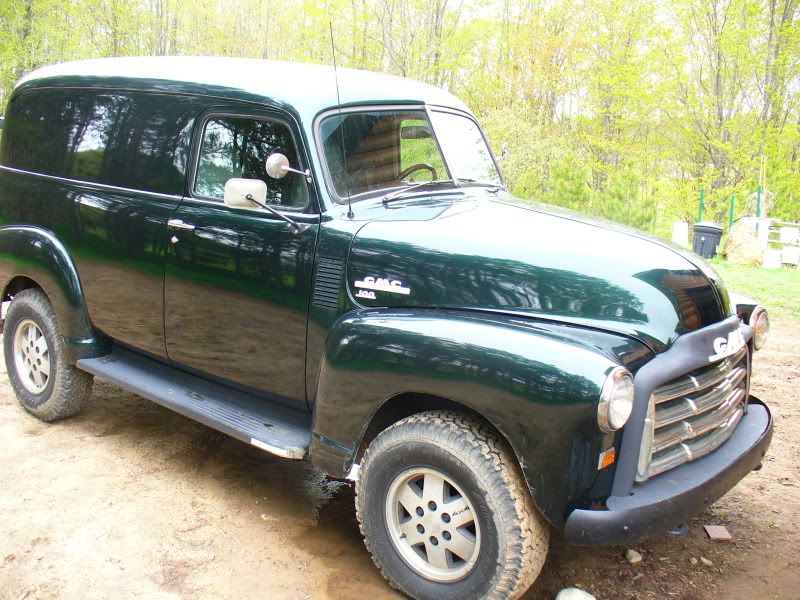
14. Here are a couple of more pics - my best helpers and my boat towing vehicle - Karl
Image
Image
LancerBoy
Posts: 1417
Joined: Mon Jan 28, 2008 3:47 am
Location: Minneapolis

Post by LancerBoy »

Excellent photographic tutorial. THANKS for posting this information.

Cool truck too!

Andreas
Torchie
Posts: 270
Joined: Tue Nov 23, 2010 4:55 pm
Location: Alden, Michigan

Post by Torchie »

Thanks Andreas.
If all goes according to plan you will see the boat and the truck at the rally.
Karl.
richnle
Posts: 87
Joined: Mon Sep 28, 2009 8:05 pm
Location: Trumbull, CT

Post by richnle »

Thank you very much Karl. This is very helpful!

Rich
Torchie
Posts: 270
Joined: Tue Nov 23, 2010 4:55 pm
Location: Alden, Michigan

Post by Torchie »

Just a couple of more comments to my post.
In one shot you can see some of the screw tips sticking out thru the ribs. I will dress these down flush to the rib with a file and once everything is cleaned up and varnished they will not be visible.
I noticed when removing the original ribs that some of them had the screws going thru the rib as well. I looked at using the next shortest length screw but felt that It did not get a good enough bite. And I would not recommend nipping the end of the screws prior to use as the tip is what cuts the hole.
Also in one of the pics you may notice that I cut a wedge and "gently" inserted it between the sister keelson and the bottom of the boat. A 16th of an inch can make a big difference when sliding the new rib under the exsisting sister keelson. I also used a wedge between the gunnel and inside trim board as well.
Karl.
Phill Blank
Posts: 412
Joined: Thu Jan 05, 2006 4:20 pm
Location: Hurley, Wisconsin

Post by Phill Blank »

Karl,

Nice job. This will help a lot of people with their rib replacement. I also like your steamer idea also, basic and simple yet very functional.

Good Job.

Phill
Image
THE LAKE
Posts: 95
Joined: Thu Sep 09, 2010 2:41 pm
Location: Sebago Lake Maine

Post by THE LAKE »

The twin 35's are too cool for school as are the helpers and the tow vehicle. Good work on getting those damaged ribs replaced.

Brian
I'd have a boat and a Harley even if there were no water or roads in the world.
89 MACH I MV1900CC
62 Cruiser's Inc 302V Commander (under restoration) 67 Johnson 100hp Golden Meteor (running like new)
Torchie
Posts: 270
Joined: Tue Nov 23, 2010 4:55 pm
Location: Alden, Michigan

Post by Torchie »

The coolest thing about the "twins" Brian is that one is actually a Golden Javelin
painted and rehooded to look like a Sea Horse. I do have two Javelin hoods and I am most likely going to repaint the motors to the Javelin colors and use the Javelin hoods. From a tech point of view ,the Sea Horse and the Javelin were identical. The Javelin just had the snazzy hoods and all that chrome.
Karl.
JoeCB
Posts: 241
Joined: Fri Dec 30, 2005 5:17 pm
Location: Farmington Hills , MI

Post by JoeCB »

Karl, very well done, this will be a great help to many folks confronted with this type of project.
Really neat GMC you got there... what about a 1953 or so ?

Thanks

Joe B
TheCaptain
Posts: 34
Joined: Sat Jun 27, 2009 9:26 am
Location: Spokane, WA

Awesome Post!

Post by TheCaptain »

Really like the low tech steamer. Danenberg's looked like the way to go but also seemed like a project in and of itself. Thanks for posting!
Torchie
Posts: 270
Joined: Tue Nov 23, 2010 4:55 pm
Location: Alden, Michigan

Post by Torchie »

1950 Joe.
By 53 they had a vent on the door glass and the door handles were push button.
Body is totaly stock,still original sheet metal. Chassis is an unmodified 90 GMC 1/2 ton pickup with 5.7 TBI motor and automatic trans.
You should see the looks I get from people when I am going down the highway at 70.
Built by brother and myself.
Karl.
Torchie
Posts: 270
Joined: Tue Nov 23, 2010 4:55 pm
Location: Alden, Michigan

Post by Torchie »

I built the steamer out of 2-1x4 and 2- 1x6 pieces of pine that I had in my rafters. The round pot lid is a precut table top from home depot. Cost $7.00
I used coat hanger wire for the supports to keep the ribs off the bottom of the chamber. Heat source and pot is a friends turkey fryer..
I have added a piece of plywood to the bottom of the pot lid. The steam did start to losin the cheap glue that was used to hold the pine table top together.
I figure it would cost about $15.00 if I had to buy all the lumber.
Put it together in about a 1/2 an hour.
Karl.
59FLPAN
Posts: 57
Joined: Sun Jun 05, 2011 8:00 am
Location: phippsburg maine

RIB REPLACEMENT PICTORIAL

Post by 59FLPAN »

NICE JOB KARL, LOOKING TO DO THIS ON MY 1962 THOMPSON, I WAS NOT SURE HOW TO REMOVE THE RIBS, ARE THEY ALWAYS ATTACHED THRU THE HULL? IS EACH RIB THAT YOU REPLACED A ONE PIECE RIB OR TWO PIECE RIB? WHAT SHOULD I USE FOR FASTENERS? MY BOAT IS IN PHIPPSBURG MAINE, ANY IDEAS WHERE I CAN FIND THE 1/4 SAWN AIR DRIED WHITE OAK?

THANKS MUCH
JEFF SANDERSON
1962 THOMPSON
BUILT IN CORTLAND N.Y.
jeffrey w. sanderson
Torchie
Posts: 270
Joined: Tue Nov 23, 2010 4:55 pm
Location: Alden, Michigan

Post by Torchie »

Ribs are screwed thru the hull with slot head brass screws and possibly some nails. They also are attached at the Keelson and are screwed thru to the sister Keelsons. These you will have to cut unless you have removed your planking.
You can get screws from a company such as Fastenal or a marine supplier like Jamestown or Classic Boat Connection. Measure the screw length and purchase accordingly.
You will find that you may have to get slightly longer screws as the originals are incremented in 1/8 inch I believe. Current stock only seems to be in 1/4 inch increments. Screw length is from tip of screw to top of head(end to end).
As I remember screws were size 6.
Not sure what you mean about one piece or two piece ribs. Ribs are attached at the keelson and curve up torwards the gunnel of the boat. This is one piece and consitutes one rib. The ribs do not go from gunwale to gunwale under the keelson in one piece. Ribs were milled to thickness not laminated.
Start calling around your area for the oak. Check with places that supply wood for furniture makers. Mine was not air dried. I don't think that matters so much, you are going to soak it anyway. Straight grained white oak should work if you can't find 1/4 sawn. I have never found a source for air dried unless you stumble upon a mill that happens to have some there. Someone else on the forum may know of a source in your area.
Hope this answered your questions.
Karl
59FLPAN
Posts: 57
Joined: Sun Jun 05, 2011 8:00 am
Location: phippsburg maine

1962 18ft thompson & 1962 75hp johnson super sea-horse e

Post by 59FLPAN »

YES THANK YOU KARL, THE RIBS ARE WHAT I WAS CONCERNED ABOUT MOSTLY, I FULLY UNDERSTAND NOW, THEY SLIP IN AND FASTEN IN THE CENTER [KEELSON], ONE FOR PORT
SIDE AND ONE FOR STARBOARD SIDE.

THANKS AGAIN FOR YOUR HELP.
GOOD DAY TO YOU
JEFF

1962 THOMPSON
jeffrey w. sanderson
Post Reply